
Adobe just introduced a highly anticipated feature in the latest Photoshop beta—Dynamic Text. This tool automatically adjusts your text as you resize or reshape its bounding box, eliminating tedious manual tweaks. Let’s break down how to use it!
Step 1: Enable Dynamic Text
Open Photoshop Beta and select a Type Layer. In the Options Bar, click the Dynamic Text icon (a “T” with a lightning bolt).
Alternative method: Right-click the text layer in the Layers panel and choose Convert to Dynamic Text.
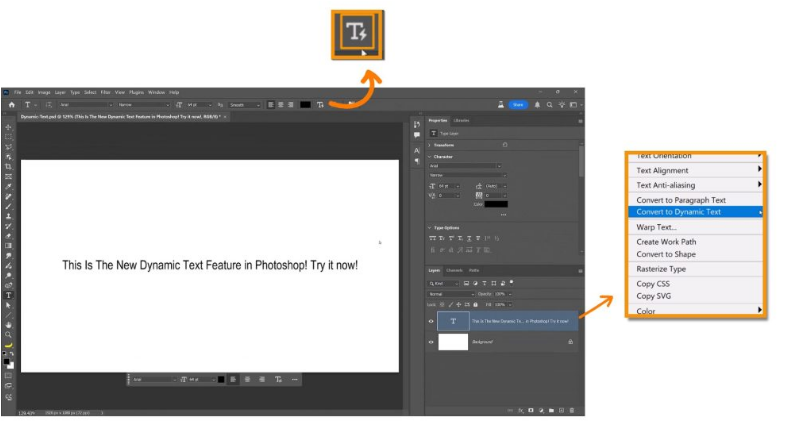
Once enabled, you’ll see the Dynamic Text icon on the layer thumbnail, along with a tooltip calling it a “Magic Text Layer.”
Step 2: Resize the Bounding Box
Click inside the text layer to reveal the bounding box, then drag the edges to reshape it. The text will automatically reflow to fit.
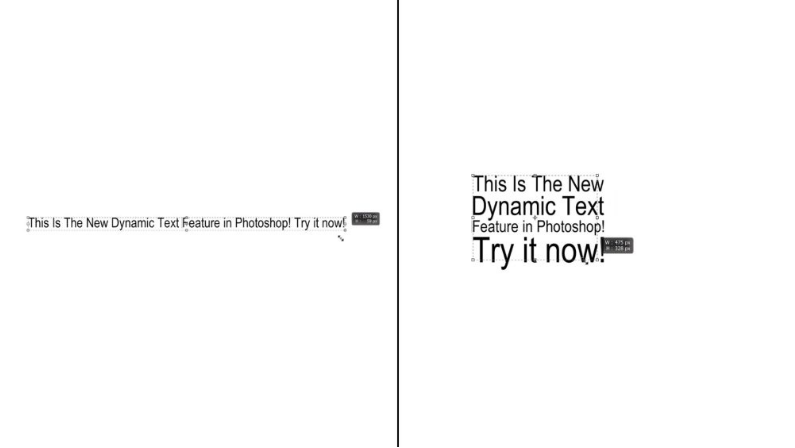
Pro tip: Hold Ctrl (Win) / Cmd (Mac) while dragging to move the layer at the same time.
Step 3: Preserve Manual Line Breaks (Optional)
Want to keep a specific word (like “Photoshop”) on its own line?
1. Highlight the space after the word and press Enter (Return on Mac).
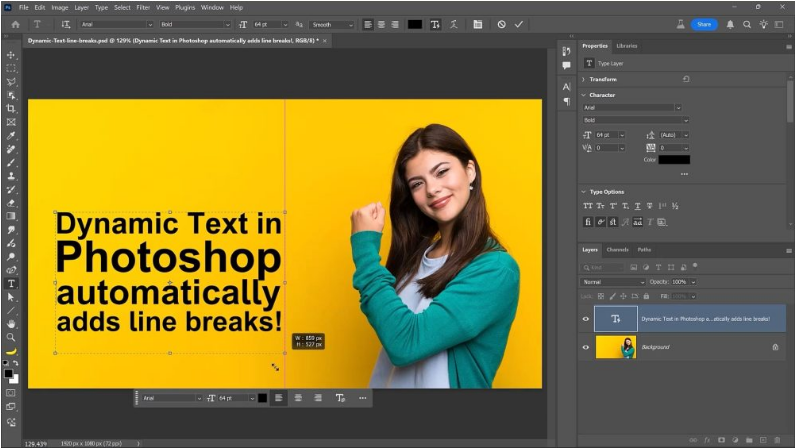

2. Do the same before the word.
Now, Photoshop will maintain that break even when resizing the box.
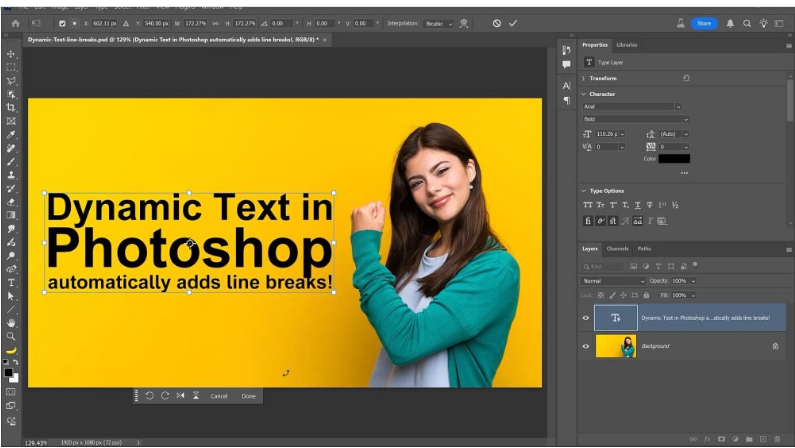
Step 4: Scale Text Without Warping the Box
Press Ctrl + Enter (Win) / Cmd + Return (Mac) to confirm edits. Then, press V for the Move Tool and drag the corner handles to scale the text visually.
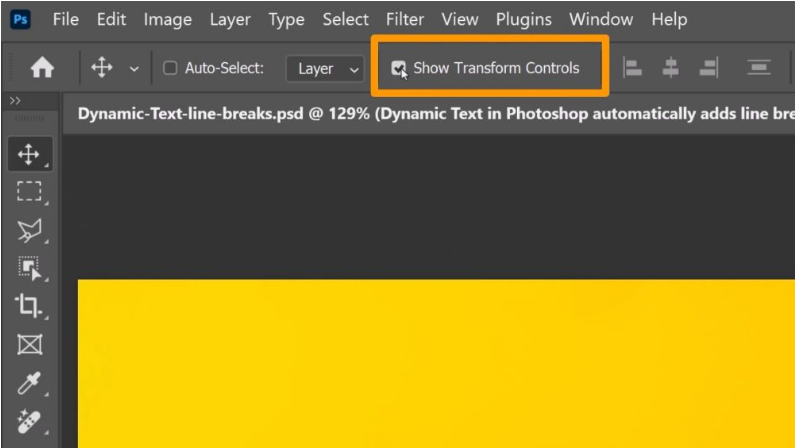
No handles? Enable Show Transform Controls in the Options Bar or press Ctrl/Cmd + T.
Step 5: Format Your Text
Edit Dynamic Text using:
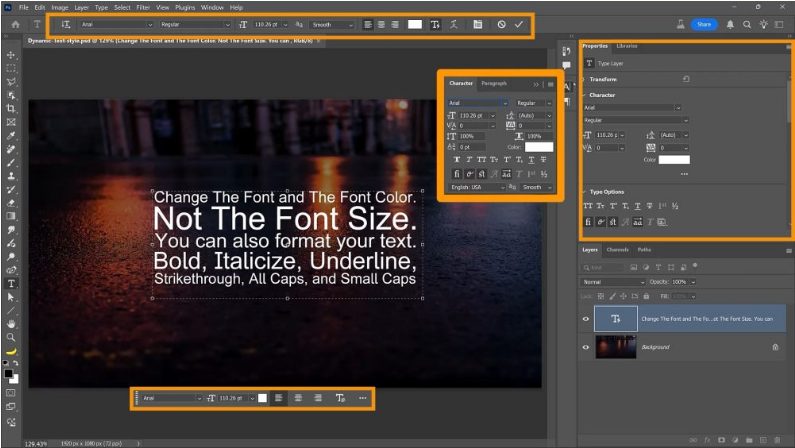
- Contextual Taskbar
- Options Bar
- Properties Panel
- Character Panel
To change font & color:
1. Highlight the text.
2. Use the font dropdown to pick a new typeface.
3. Click the color swatch to adjust the hue.
Note: Font size adjusts automatically based on the bounding box—you can’t set it manually.
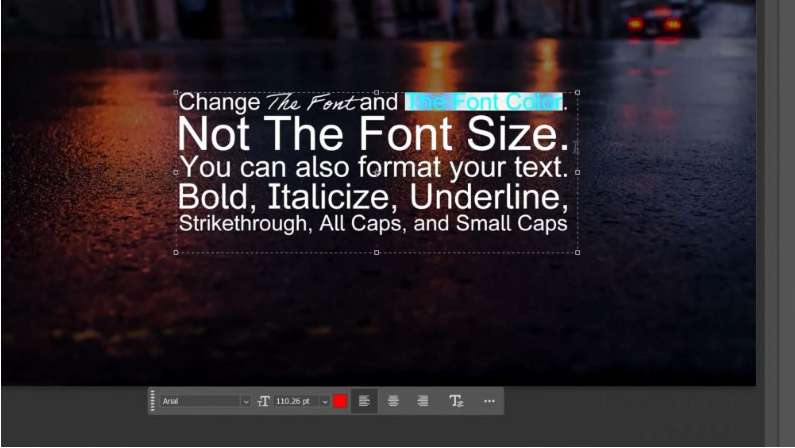
Step 6: Quick Formatting with Keyboard Shortcuts
Highlight text and use these shortcuts:
- Bold: Ctrl/Cmd + Shift + B
- Italic: Ctrl/Cmd + Shift + I
- Underline: Ctrl/Cmd + Shift + U
- Strikethrough: Ctrl/Cmd + Shift + /
- All Caps: Ctrl/Cmd + Shift + K
- Small Caps: Ctrl/Cmd + Shift + H
- Clear Formatting: Ctrl/Cmd + Shift + Y

Bonus: If the font has a true bold/italic variant, Photoshop uses it instead of faux styling.
Step 7: Adjust Kerning (Space Between Two Characters)
Place your cursor between two characters, then hold Alt (Win) / Option (Mac) and tap the Left/Right Arrow Keys to tweak spacing.
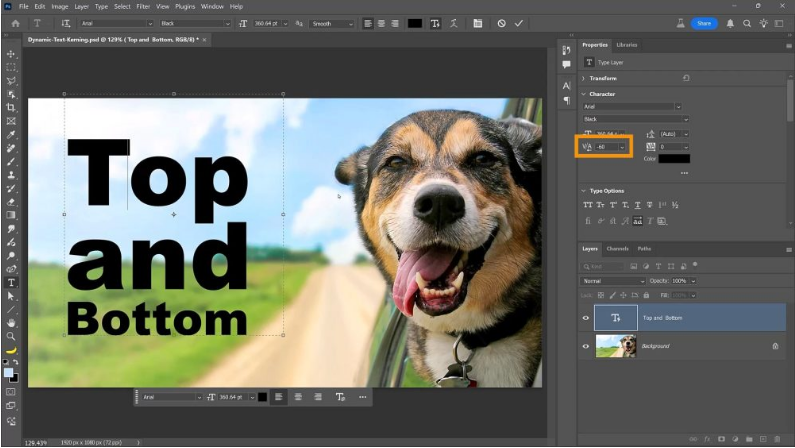
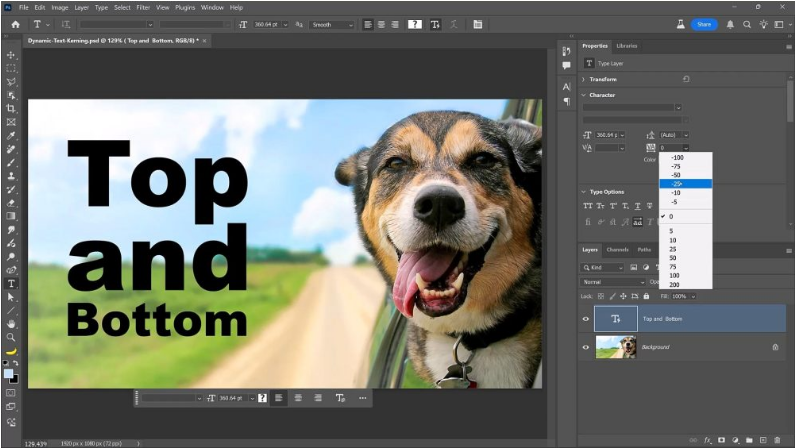
Step 8: Adjust Tracking (Space Between All Characters)
Option A (Properties Panel):
Press Esc to exit Edit Mode, then use the Tracking dropdown in the Properties Panel.
Option B (Shortcut):
Select the text and use:
- Win: Shift + Alt + Left/Right Arrow
- Mac: Shift + Option + Left/Right Arrow
Note: This only works on selected text, not globally.
Step 9: Adjust Word Gap (Dynamic Text Only)
Press Esc, then in the Properties Panel, find Word Gap under Dynamic Text. Use the slider to increase/decrease spacing between words.
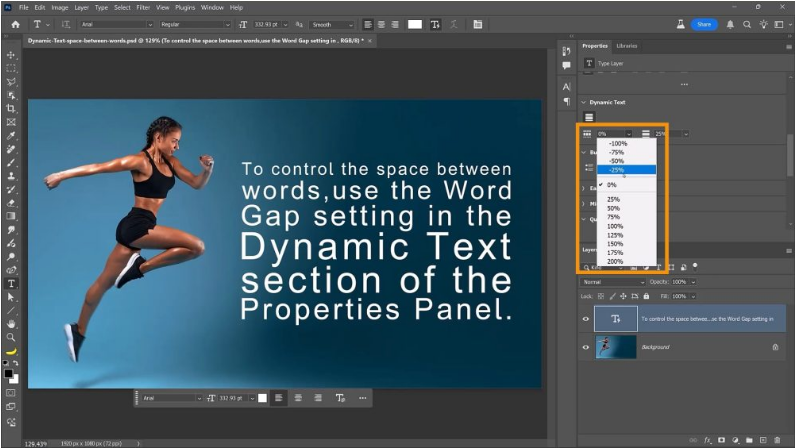
Quick tweak: Hover over the label and drag left/right to adjust.
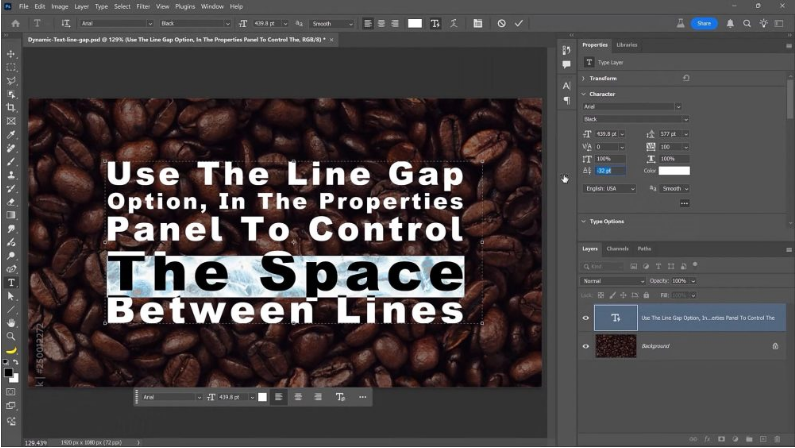
Step 10: Adjust Line Gap
Still in the Dynamic Text section, find Line Gap to control spacing between lines:
- 0% = Tight spacing
- Higher values = More breathing room
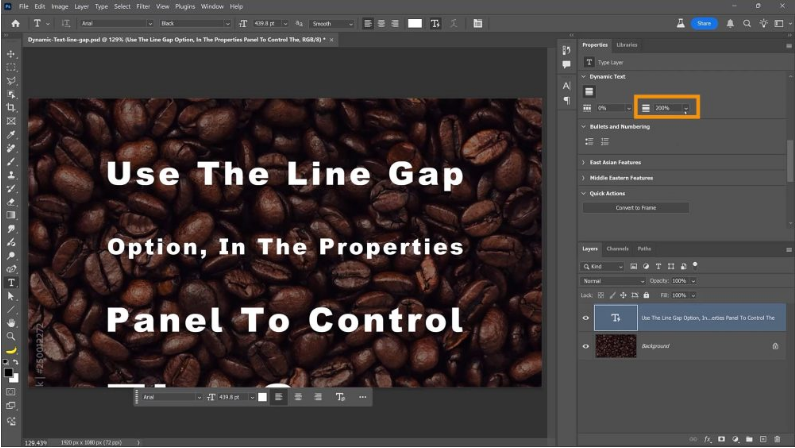
This replaces traditional leading, which doesn’t work with Dynamic Text.
Step 11: Fine-Tune Baseline Shift (For Specific Lines)
1. Select a line of text.
2. Click the three-dot icon in the Properties Panel to expand options.
3. Use the Baseline Shift dropdown to nudge lines up or down.
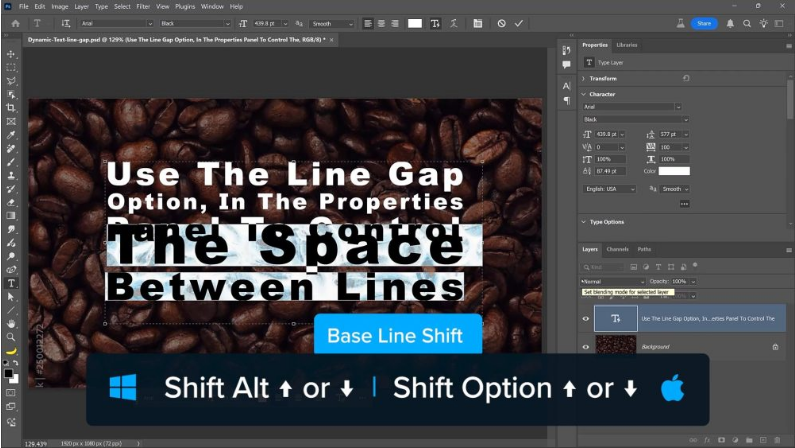
For multiple lines: Highlight them and use the same dropdown or shortcut:
- Win: Shift + Alt + Up/Down Arrow
- Mac: Shift + Option + Up/Down Arrow