textures, or repeating graphics. In this guide, we’ll walk through three practical examples—wrinkled paper, a stone wall, and a fence—teaching you essential techniques to make your patterns look organic and professional.
Example 1: Crafting a Seamless Wrinkled Paper Texture
Step 1: Enable Pattern Preview
Start by turning on Pattern Preview (View > Pattern Preview). This lets you see how your texture repeaHow to Create Seamless Patterns in Photoshop: From Basics to Advanced Techniques
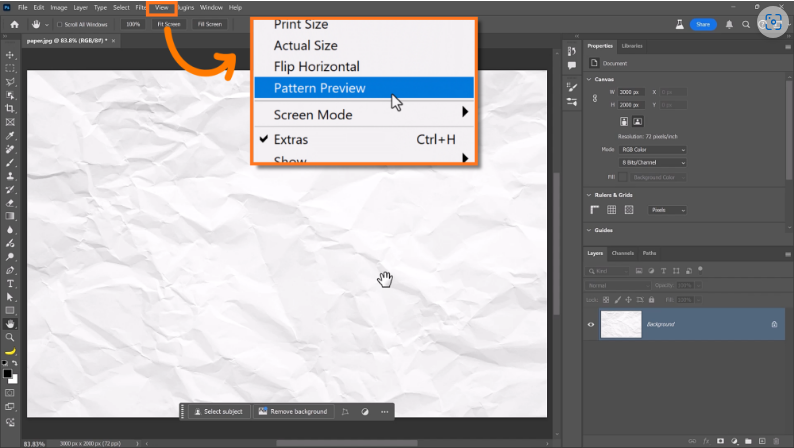
Seamless patterns are a must-have tool for designers, whether you’re working on backgrounds, ts beyond the canvas, making it easier to spot and fix seams.
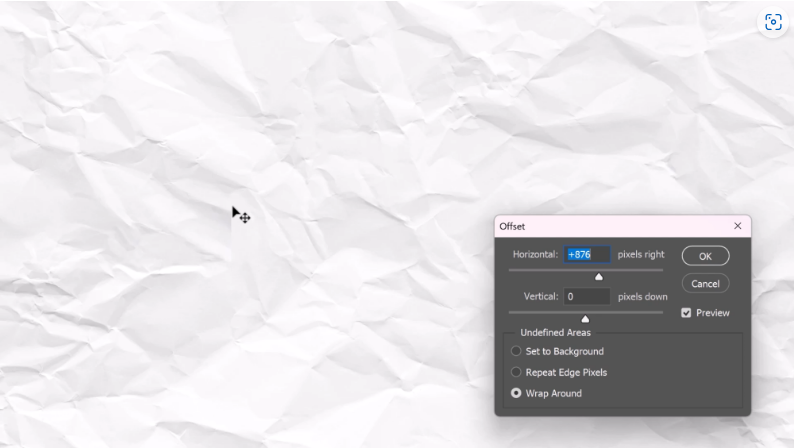
Step 2: Use the Offset Filter to Find Seams
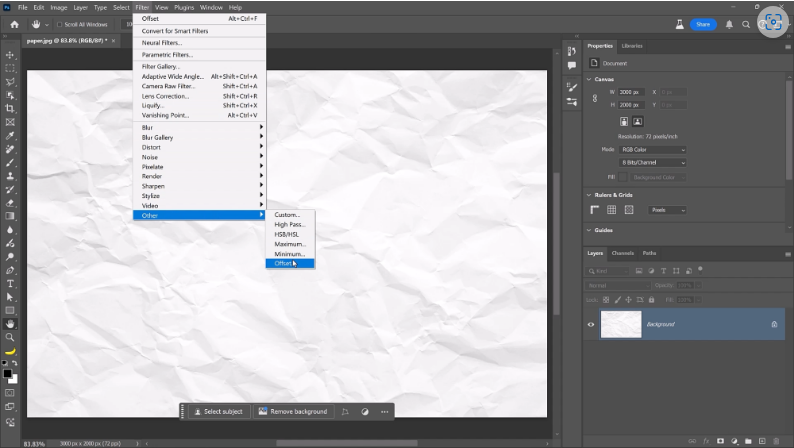
Go to Filter > Other > Offset and shift the texture horizontally and vertically. This reveals where edges don’t align, helping you identify problem areas.
Step 3: Remove Seams with Generative Fill

Select visible seams with the Rectangular Marquee Tool, then apply Generative Fill (leave the prompt blank for automatic blending). Choose the best result, merge it with the background, and repeat until the pattern looks seamless.
Step 4: Save and Apply the Pattern
Once seamless, save it via Edit > Define Pattern. To use it, add a Pattern Fill Layer and adjust the scale—smaller scales may make repetition more noticeable.
Pro Tip: Enhance Realism with Blending Modes

Duplicate the pattern layer, set it to Multiply, and adjust opacity (press 5 for 50%). Resize the duplicate to 150% for variation, breaking up repetition and adding depth.
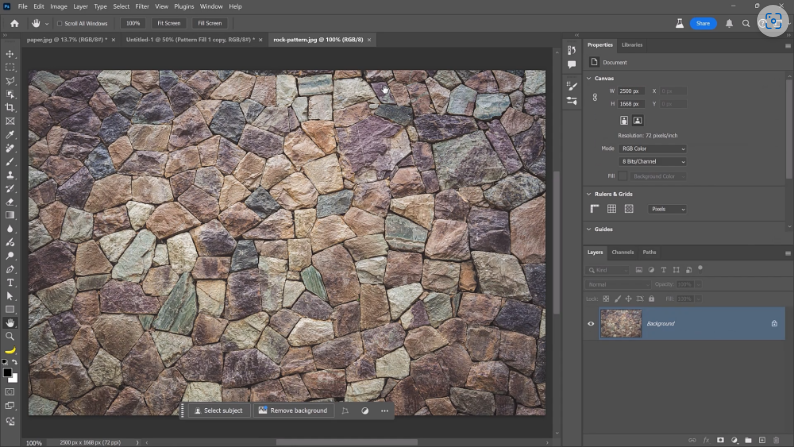
Example 2: Seamless Stone Wall Texture
Step 1: Fix Uneven Brightness
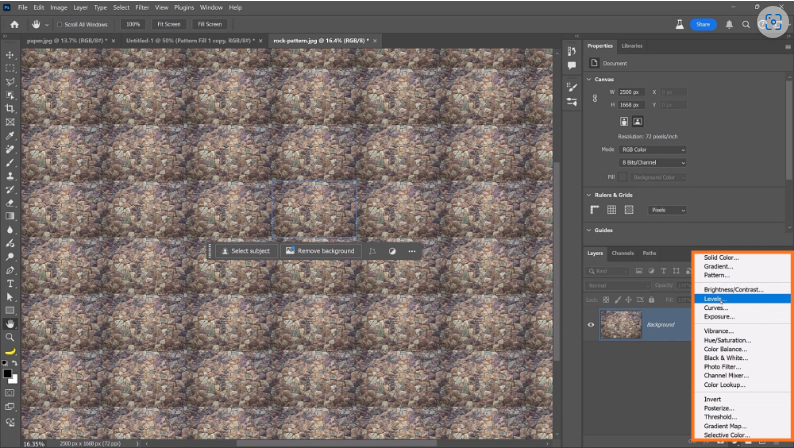
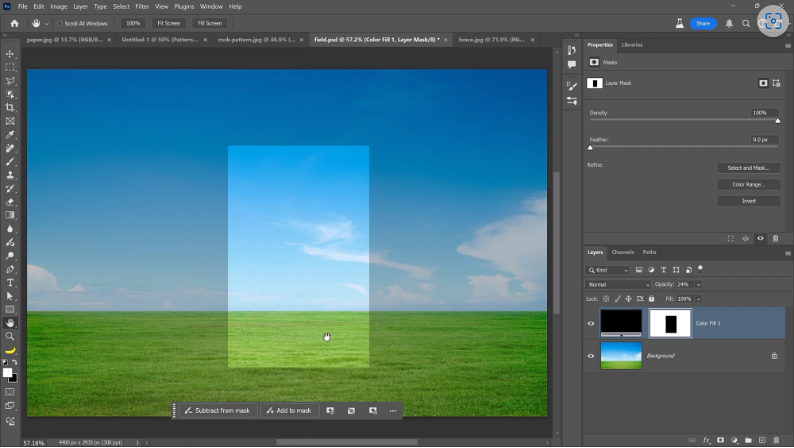
With Pattern Preview on, zoom out to spot dark edges. Add a Levels Adjustment Layer, set to Screen, and invert the mask (Ctrl+I). Paint over dark areas with a soft white brush to brighten them.
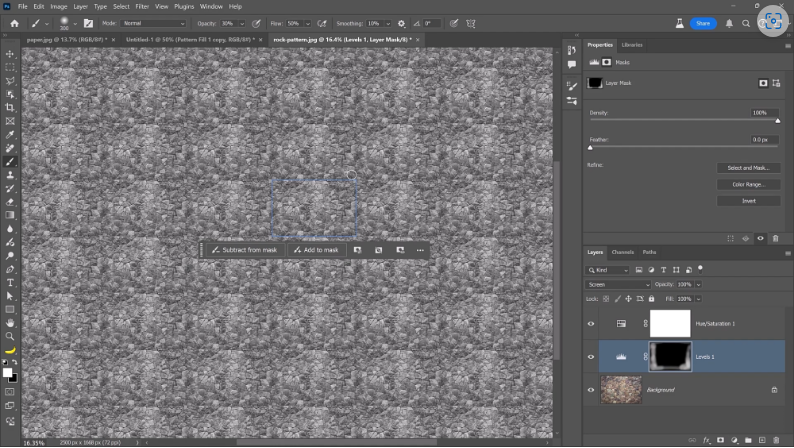
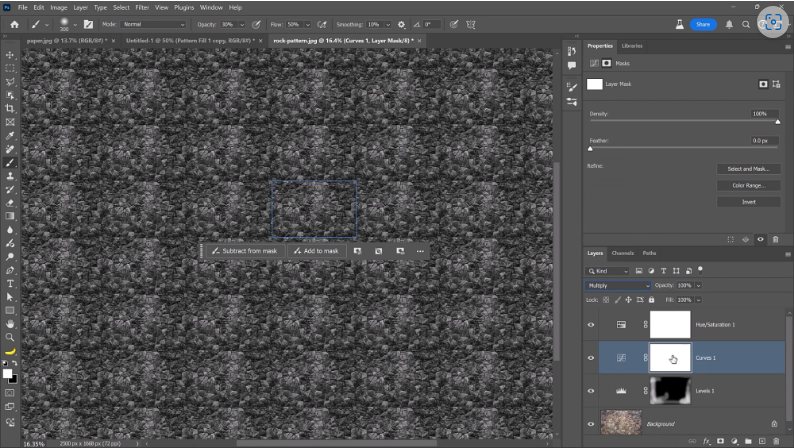
Step 2: Balance Tonal Consistency
Temporarily desaturate the image (Hue/Saturation Adjustment Layer, Saturation: -100) to check brightness. Use Curves (Multiply mode) to darken overly bright spots—invert the mask and paint where needed.
Step 3: Remove Seams with Offset & Generative Fill
Use the Offset Filter to shift the texture, then Generative Fill to blend seams. Repeat until no edges are visible.
Step 4: Harmonize Colors
Adjust Hue/Saturation to unify clashing tones (e.g., shift greens toward orange for a natural stone look).
Step 5: Save and Test the Pattern
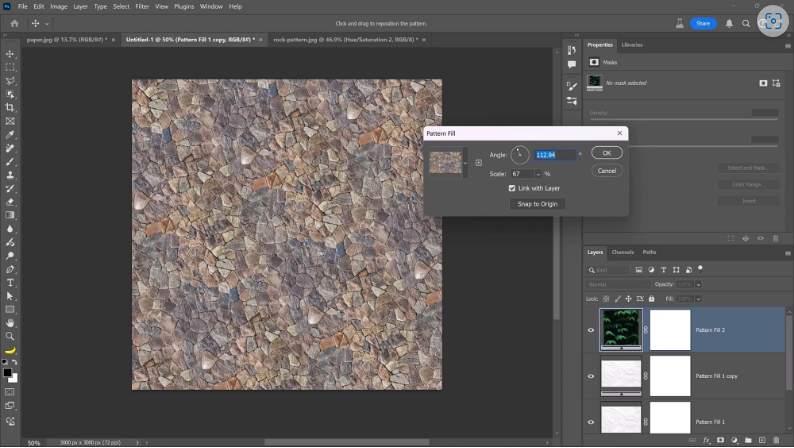
Define the pattern (Edit > Define Pattern), then apply it via a Pattern Fill Layer. Tweak the scale and rotation to disguise repetition.
Example 3: Extending a Fence into a Seamless Pattern
Step 1: Correct Perspective
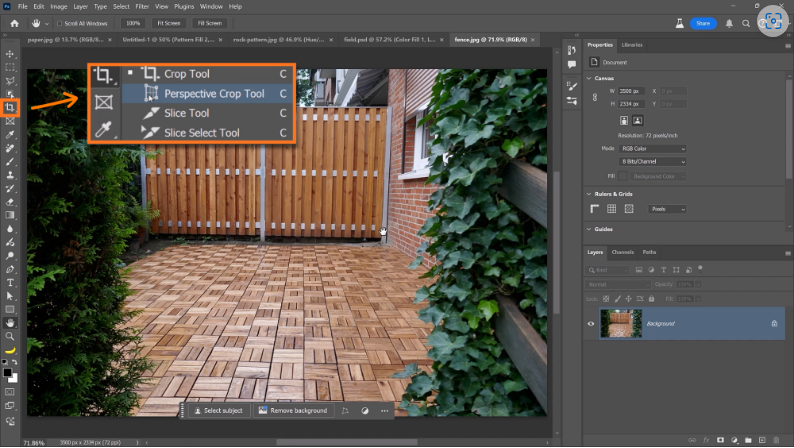
Use the Perspective Crop Tool to straighten the fence. Align the grid with the fence lines and crop to remove distortion.
Step 2: Fix Visible Repetition
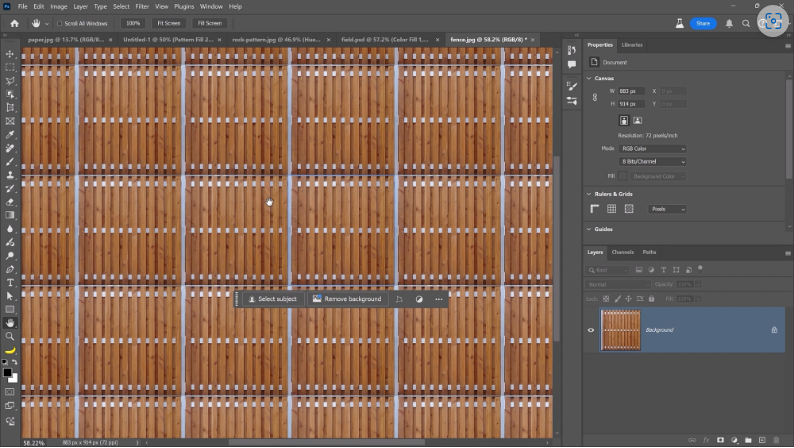
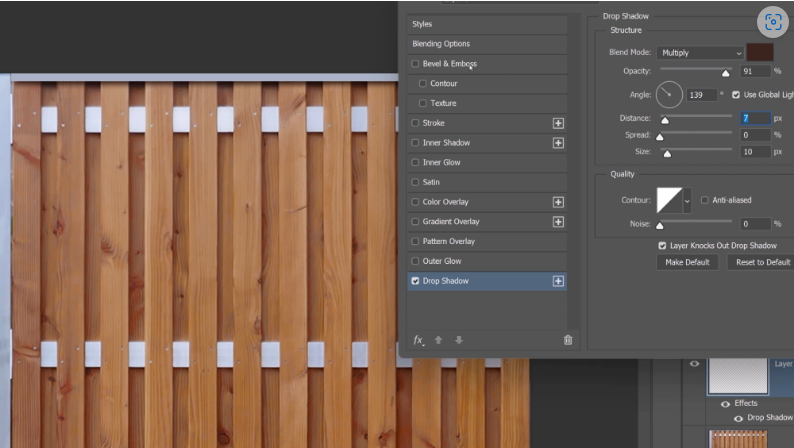
In Pattern Preview, check for inconsistencies (e.g., uneven railings). Sample matching colors with the Eyedropper, fill a new layer, and refine with Drop Shadow and Bevel & Emboss for realism.
Step 3: Blend Seams with Clone Stamp & Blur
After using the Offset Filter, fix misalignments with the Clone Stamp Tool and soften edges with the Blur Tool.
Step 4: Remove Repetitive Details
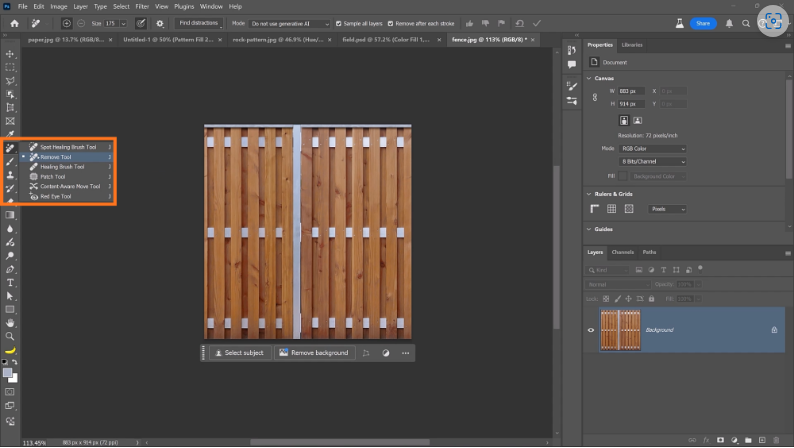
Use the Remove Tool to delete noticeable duplicates (e.g., scratches) before saving the pattern.
Step 5: Add Depth with a Cloud Overlay
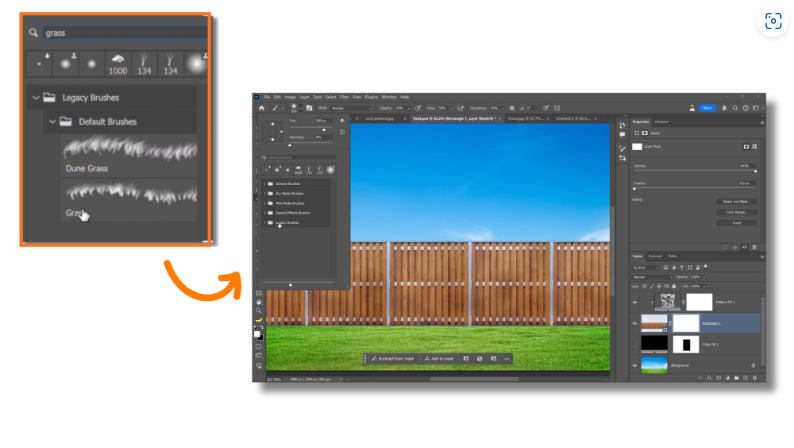
Create a cloud texture (Filter > Render > Clouds), define it as a pattern, and overlay it on the fence at 30% opacity for subtle variation.