Photoshop’s upgraded [Object Selection Tool](https://photoshoptrainingchannel.com/lessons/the-object-selection-tool/) now intelligently detects people in your photos—down to specific facial features, clothing items, and accessories. This breakthrough feature saves hours of manual selection work, letting you make targeted edits with unprecedented speed. Here’s your professional workflow for harnessing its full potential.
Step 1: Activate the Tool

Press W to select the Object Selection tool (or Shift+W to cycle through nested tools).
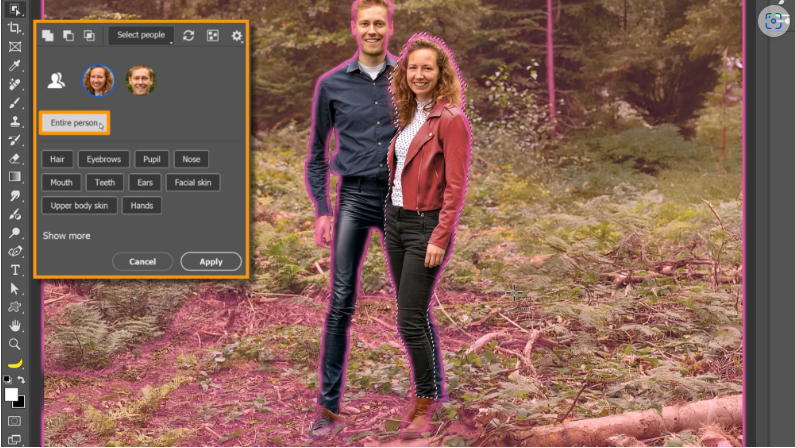
Step 2: Detect People Automatically
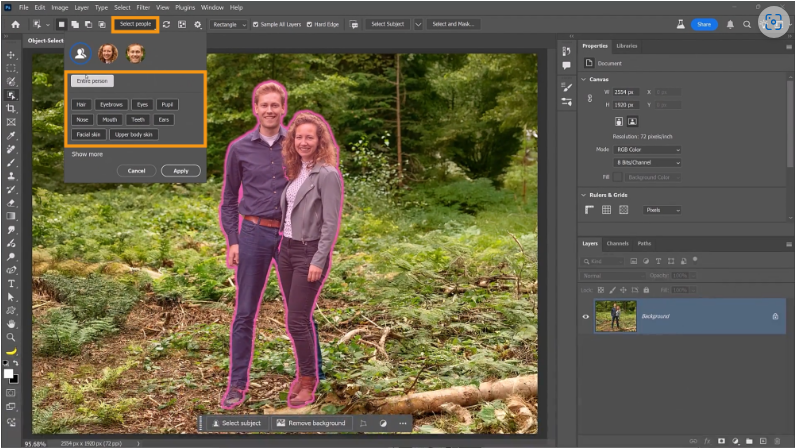
Click “Select People” in the options bar—Photoshop instantly scans your image and displays thumbnails of all detected subjects.
Step 3: Choose Specific Attributes
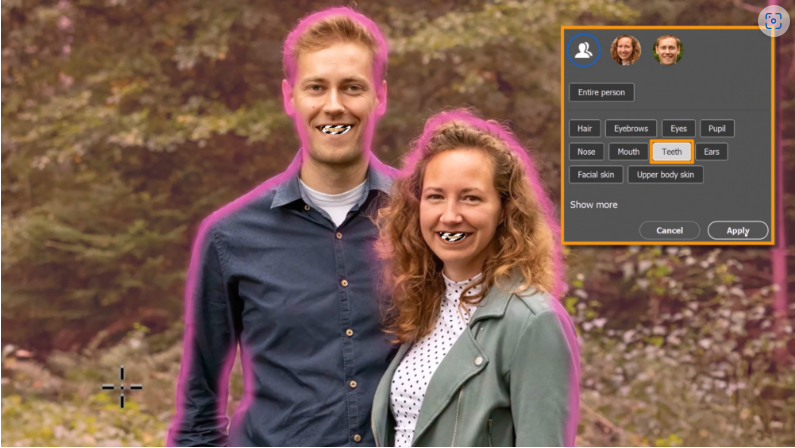
Hover over a person’s thumbnail to reveal 21+ identifiable attributes (eyes, jewelry, shoes, etc.). Click “Show More” for complete options, then:
- Select multiple attributes (e.g., teeth + coat)
- Click “Apply” to generate your selection
Step 4: Fine-Tune with Brush Tools
Press L for the selection brush, then:
- Add areas: Paint normally
- Subtract: Hold Alt/Option while brushing
- Adjust brush size with [ ] keys
Step 5: Make Non-Destructive Edits
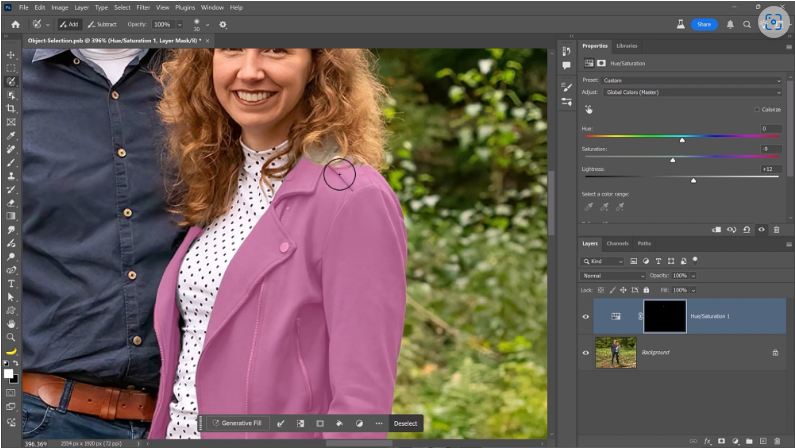
Create a Hue/Saturation adjustment layer to modify colors:
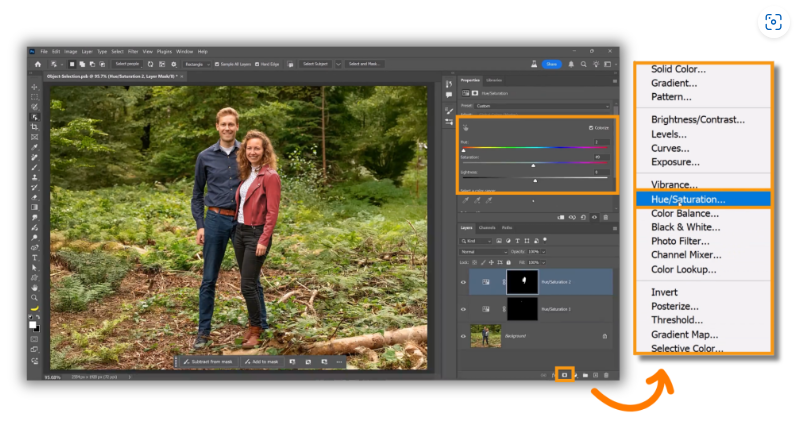
1. Enable Colorize
2. Slide Hue to change colors (e.g., make a jacket red)
Step 6: Transform with Generative Fill
For advanced edits:
1. Select attributes like “Accessories” + “Lower Clothes”
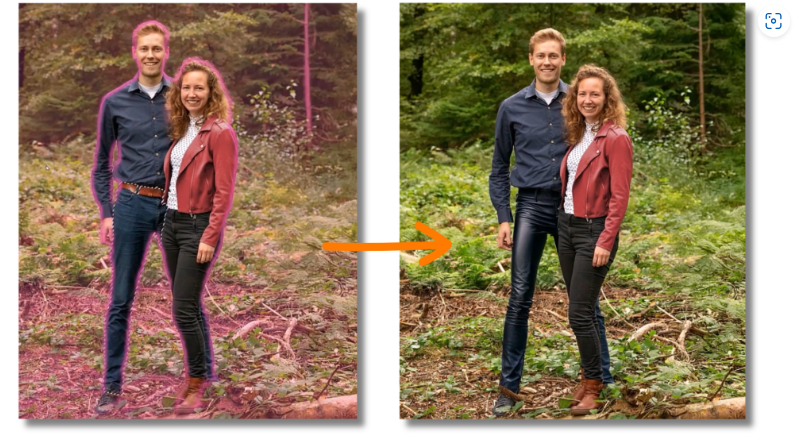
2. Use Generative Fill (prompt: “black leather pants”)
3. Watch Photoshop realistically replace clothing
Step 7: Surgical Selection Adjustments
To exclude unwanted areas (e.g., shoes from a full-body selection):
- Hold Alt/Option and click the attribute