Want to remove a background from an image in Photoshop quickly and professionally? Follow this beginner-friendly, three-step method—the same techniques I use for my work on [Behance](https://www.behance.net/JRfromPTC).
Precision and flexibility are key in professional photo editing. That’s why I’m breaking down my process into an easy-to-follow formula, complete with solutions to common problems and some of my favorite Photoshop brushes.
Step 1: Make a Clean Selection of Your Subject
The first step in removing a background is selecting your subject. While Photoshop offers a quick “Remove Background” button, I recommend using Select > Select and Mask for better control.
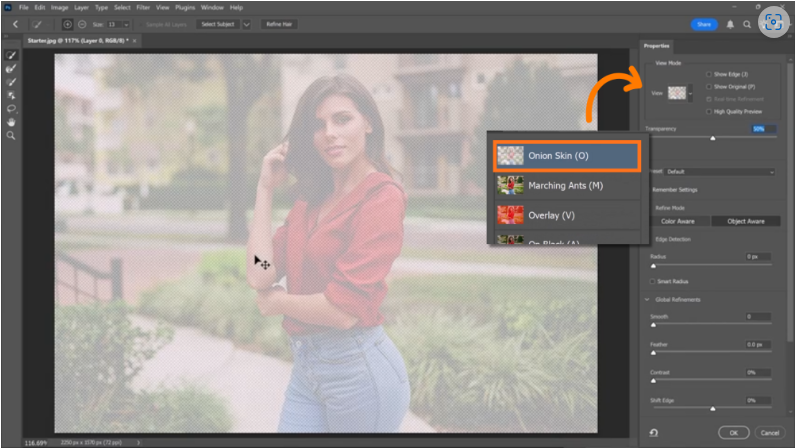
This workspace (learn more [here](https://photoshoptrainingchannel.com/select-and-mask-workspace-in-photoshop/)) simplifies selections by minimizing distractions. By default, it uses Onion Skin view (50% transparency), making it easier to see your selection against the original image.
- For objects like clothing, use the Quick Selection Tool.
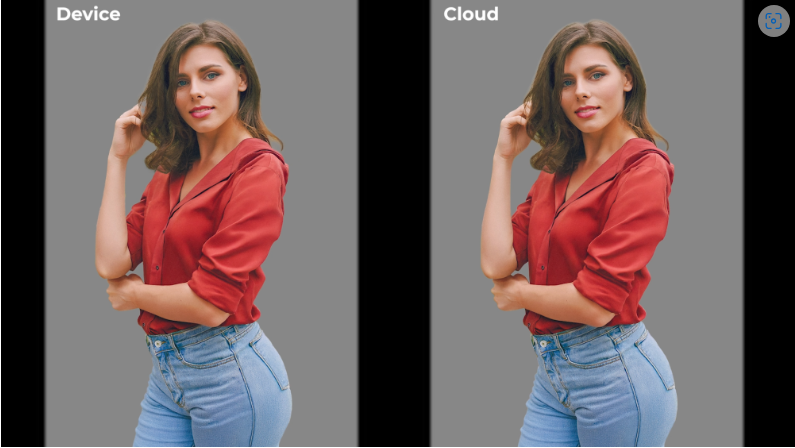
- For people or complex subjects, click the Subject button—but first, choose “Cloud” from the dropdown. This sends the image to Adobe’s servers for a smarter selection. (No internet? Use “Device” for local processing.)
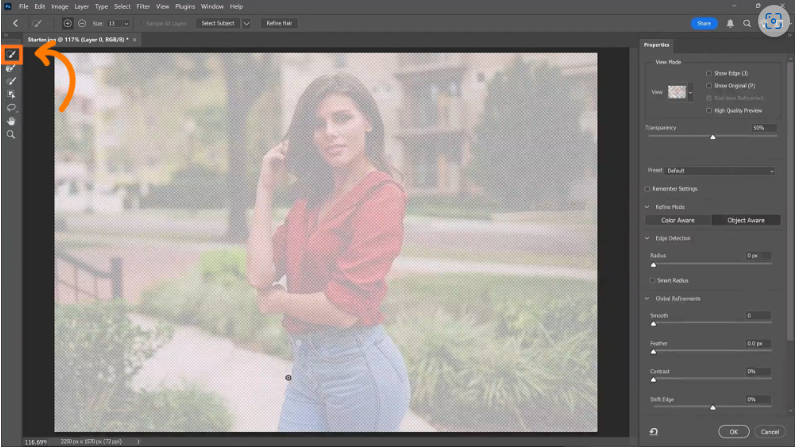
Once you have a rough selection, refine it with the Brush Tool or Quick Selection Tool.
Step 2: Refine Hard Edges
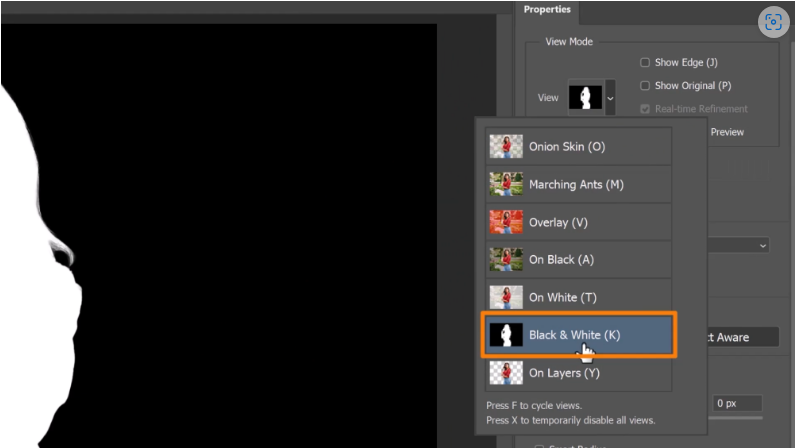
Switch to Black & White view to check edge quality. Often, edges look jagged or blurry—here’s how to fix them:
1. Smooth – Softens rough edges.
2. Contrast – Sharpens the selection.
3. Shift Edge – Contracts or expands the mask to eliminate halos.
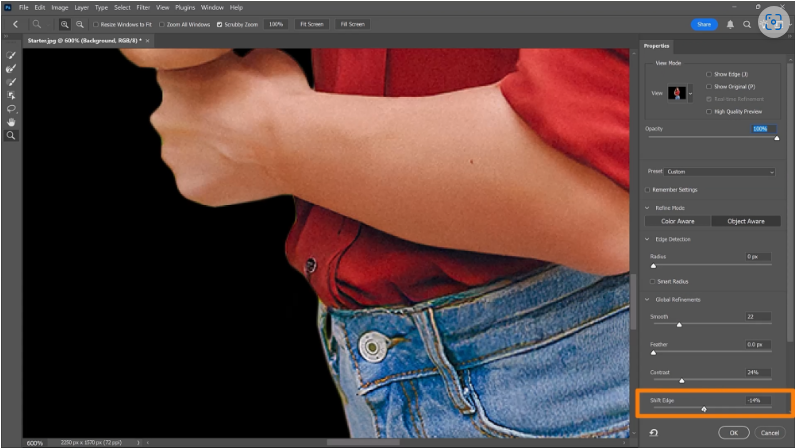
These adjustments affect the entire selection, so don’t worry if hair or fine details don’t look perfect yet—we’ll handle those next.
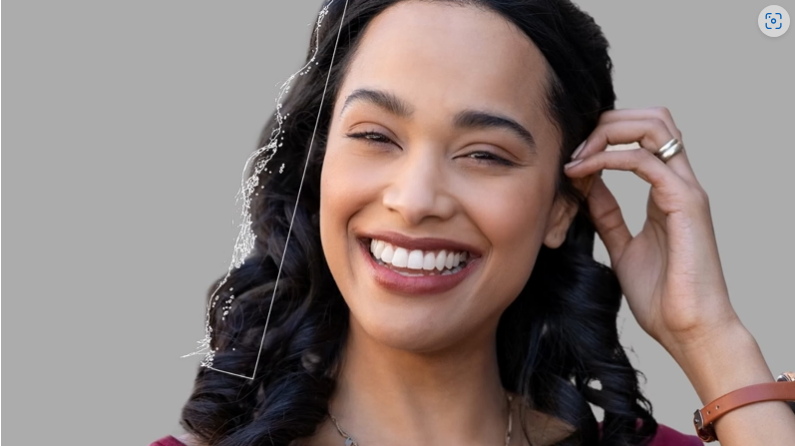
Step 3: Perfect Hair & Fine Details
Hard edges are now clean, but hair, fur, or intricate textures need extra attention. Here’s how to refine them separately:
1. Output as a Layer Mask – This keeps your edits non-destructive.
2. Reopen Select & Mask – Double-click the mask thumbnail to fine-tune.
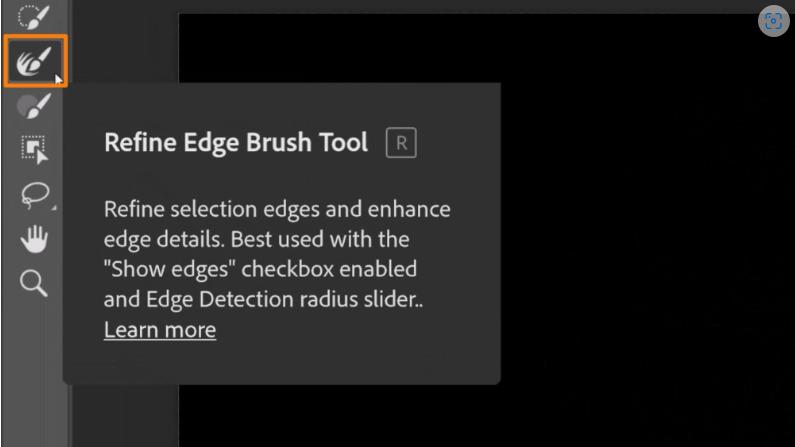
3. Use the Refine Edge Brush – Paint over tricky areas (like hair) to let Photoshop detect fine details.
4. Try the “Refine Hair” Button – AI-powered tool that automatically detects and enhances hair strands.
Once done, click OK to apply the refinements.
Fixing Common Background Removal Issues
Even after these steps, you might encounter minor imperfections. Here’s how to solve them:
1. Incomplete or Over-Masked Areas
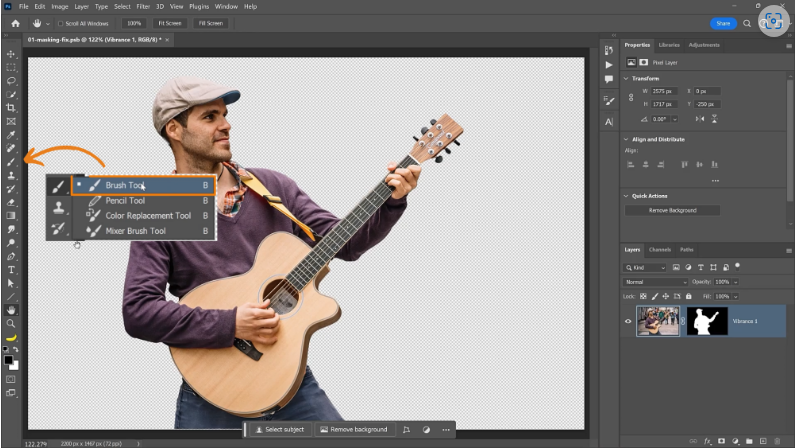
- Use the Brush Tool to touch up:
- Black – Removes leftover background.
- White – Restores accidentally masked areas.
2. Painting Missing Details
Some details (like stray hairs) are easier to paint than select. I’ve included custom brushes (download link below) for:
- Flyaway hair
- Single strands
- Fuzzy fur
Just double-click the `.ABR` file to install them in Photoshop.
3. Blurry Edges from Depth of Field
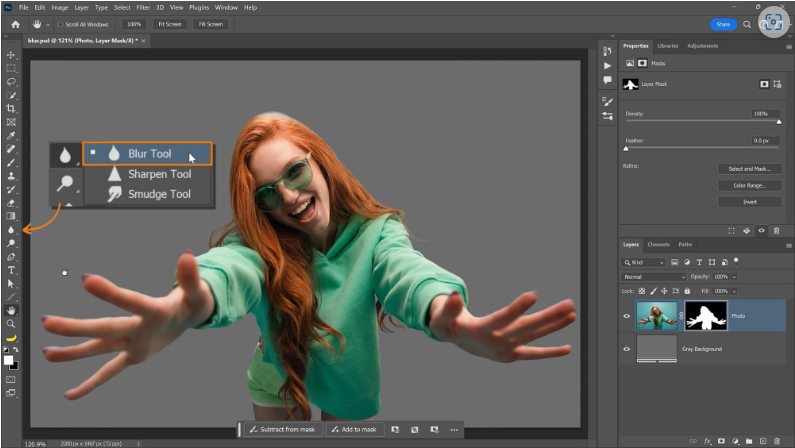
If parts of your subject are naturally soft (due to camera focus), use the Blur Tool on the mask to match the original photo’s depth.
4. White or Harsh Outlines
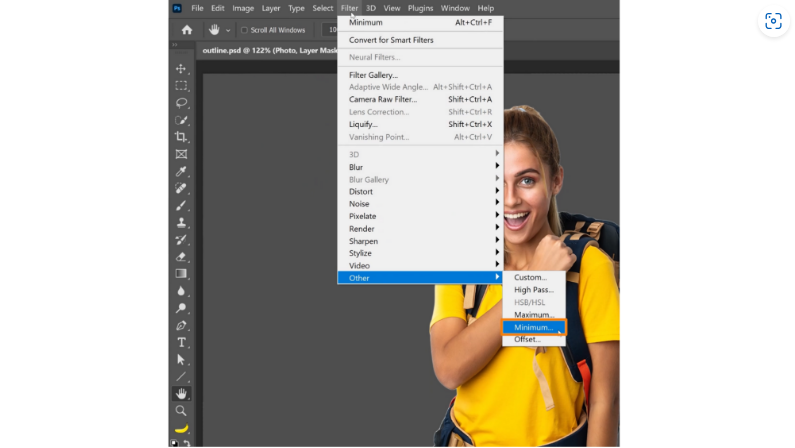
Go to Mask > Filter > Other > Minimum, select “Rounded”, and adjust until the outline disappears.
5. Color Spill (e.g., Green Screen Reflections)
1. Add a new layer above your subject.
2. Press Ctrl+Alt+G (Win) / Cmd+Opt+G (Mac) to clip it.
3. Set blending mode to Color.
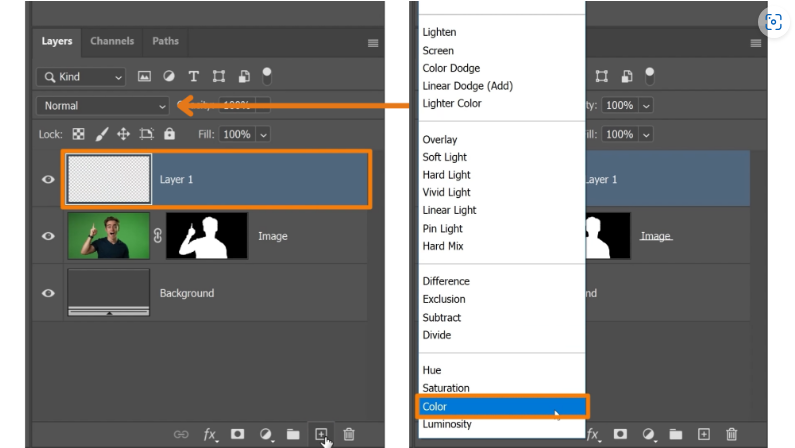
4. Use the Eyedropper (Alt/Option + Click) to sample nearby colors and paint over spills.
Final Thoughts
With these three steps—selection, edge refinement, and detail work—you’ll remove backgrounds like a pro. The key is working non-destructively with Layer Masks and refining problem areas separately.
For even better results, grab my [custom Photoshop brushes](#) and experiment with different adjustments. Happy editing!